|
One of the most essential kitchen appliance you must own, hand mixers are ideal for beating eggs and preparing puddings to whipping creams and kneading dough. Although hand mixers can perform multiple mixing tasks in a fast and easy way, it is important to put your money down on a reliable, durable option. The KitchenAid 7-Speed Hand Mixer is one such appliance. If you are using a KitchenAid hand mixer for the first time, go through this blog. We cover all you need to know when operating the KitchenAid 7-speed hand mixer. Take a look.
Attaching the KitchenAid Hand Mixer Attachments When attaching the 7-speed hand mixer attachments, you need to make sure it is not plugged into an electrical outlet. Every KitchenAid hand mixer has specific openings for specific attachments. KitchenAid attachments can be broadly categorized into two types: with collars and without collars. The 7-speed hand mixer has two opening, one small and the other little bigger. The attachments that come with a collar are attached to the bigger opening and the ones without a collar are attached to the smaller openings of a KitchenAid 7-speed hand mixer. When fixing the attachments to the mixer, line up the slots in the opening to the flanges on the accessory and push it in until it, automatically, locks into place. Removing the Attachments Firstly, before removing the attachments fixed on a KitchenAid 7-speed hand mixer, you need to switch the mixer off by pressing the “Off” button. After switching off the appliance, unplug the mixer an press the “Eject” button to release the attachments. After the attachments are successfully released, you can remove them without any difficulty. Always remember the follow this process to remove the attachments to avoid breaking the attachment or the opening in your KitchenAid 7-speed hand mixer. Controlling Speed Options As the KitchenAid hand mixer comes with 7 speeds, it is important for you to know how to control and use the appliance in different speed options. Firstly, plug the 7-speed hand mixer into an electrical outlet and press the “on” button to start the mixer. When the mixer starts, the speed indicator reads “0”, indicating that you can use the appliance. Touch the “On” operator button again. This will make the mixer start processing food at speed 1. The KitchenAid 7-speed hand mixer comes with an “Up” and “Down” arrow buttons that regulate the speed at with the mixer runs. Press the up or down arrow button, according to your requirement. Wrap Up The KitchenAid 7-speed hand mixer is easy to use and extremely durable. In addition, it is also easy to clean and maintain, making it a top choice among people nowadays. Available in a variety of hues, put your money down on a hand mixer that blends with the theme of your kitchen. A simple web search can go a long way in choosing one that best suits your requirement.
0 Comments
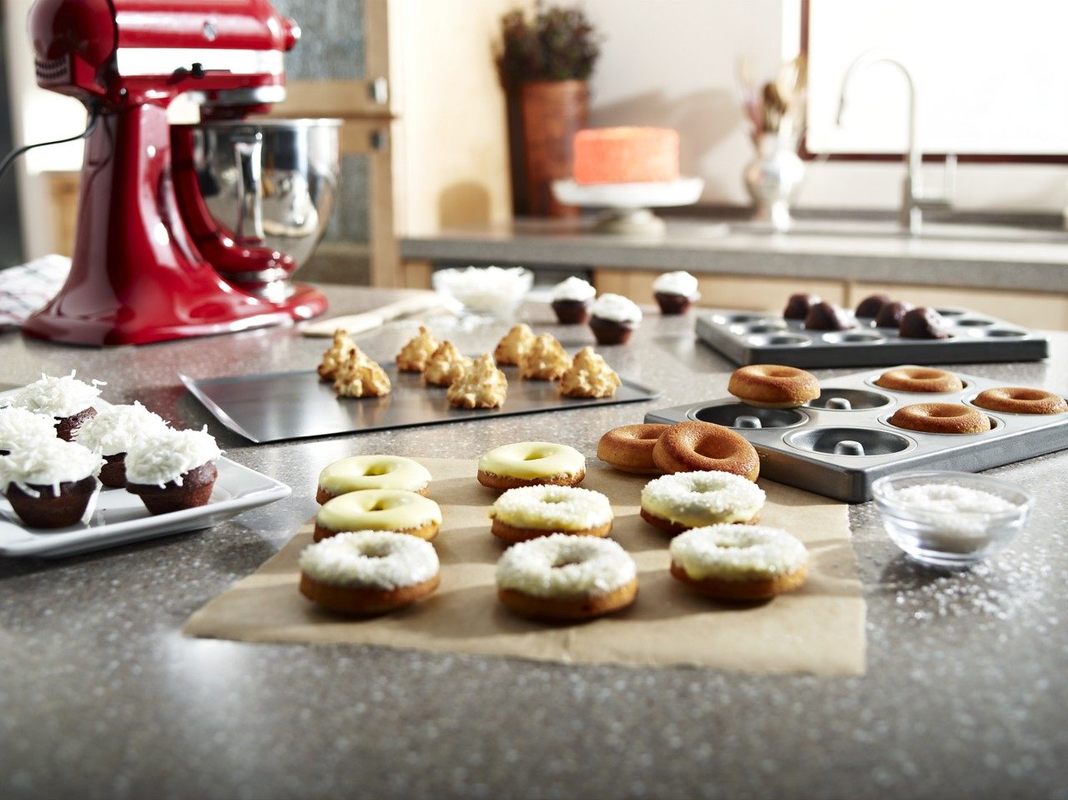
Christmas is the time to be merry and cheerful, and what better than delicious christmas treats to celebrate the joy. Now you do not even have to spend long hours in the kitchen preparing for even the easy dishes - thanks to easy-to-use and clean kitchenware and non-stick bakeware from leading brands. The kitchenware enable you to perfectly cook or bake your dishes without having to clean a big mess afterwards. Continuing on the discussion, here are three easy-to-make recipes for Christmas treats. Perfect Sugar Cookies You will need 3 cup all-purpose flour, 1 tsp baking powder, ½ tsp kosher salt, 1 cup softened butter, 1 cup granulated sugar, 1 large egg, 1 tsp pure vanilla extract, and 1 tbsp milk. Whisk all the dry ingredients together into a bowl. Beat butter and sugar in another bowl until the mixture is fluffy. Add egg, milk, and vanilla, and the whisked ingredients, and beat to combine well into a soft dough. Roll out dough onto a surface until ⅛“ thick, and cut into fun shapes. Preheat oven to 350℉ and bake cookies until the edges are lightly golden. Decorate with store-brought frosting, rainbow sprinkles, chocolate shavings, and choco chips. Hot Cocoa Brownie Cups You will need a non-stick cupcake pan, 1 box brownie mix, 1 pack mini marshmallows, ⅓ cups semi-sweet chocolate chips, 1 cup chocolate-covered pretzels, and red, green, and white nonpareils. Fill ¾th of each well of the cupcake pan with brownie batter from the box. Bake until edges are done but the center is almost cooked. Remove the cupcakes from the microwave and push marshmallows into the centers. Bake for 5-10 more minutes. Once the cups are cool, drizzle melted chocolate over the top and garnish with sprinkles. Yule Log You will need 6 eggs, 1 box devil's food cake mix, ½ cup water, ¼ cup vegetable oil, 1 tablespoon powdered sugar, and 1 cup of each vanilla and chocolate frosting. Beat the eggs, cake mix, water and, oil until you get a lumpless consistency. Line a nonstick jelly roll pan with foil, and spray with baking spray and flour. Pour 3 ½ cups batter into the pan. When cookd, let the cake cool for 5 minutes, and then roll it from end to end. Wait for 15 minutes and unroll the cake. Spread vanilla frosting on one side of the cake, and choclate frosting on the other. Roll the cake again, and let it cool in the refrigerator for 2 hours. Cut into pieces before serving. Have a Merry Christmas All the recipes mentioned in the blog would be easier to make with pro-grade kitchenware, especially when it’s nonstick bakeware. Look for premium quality kitchenware and bakeware to cut down on your kitchen time so you can spend more time with your family celebrating this festival of joy. Kitchenware is also a great idea to gift your loved ones. |
AuthorKanika is a marketer and writer @ KitchenAid India. She loves to write the article about various aspects of home decor and household appliances. Archives
May 2019
Categories |
 RSS Feed
